Verify the deformation of the can lid when subjected to drop impact tests at specified heights and angles.
Test process:
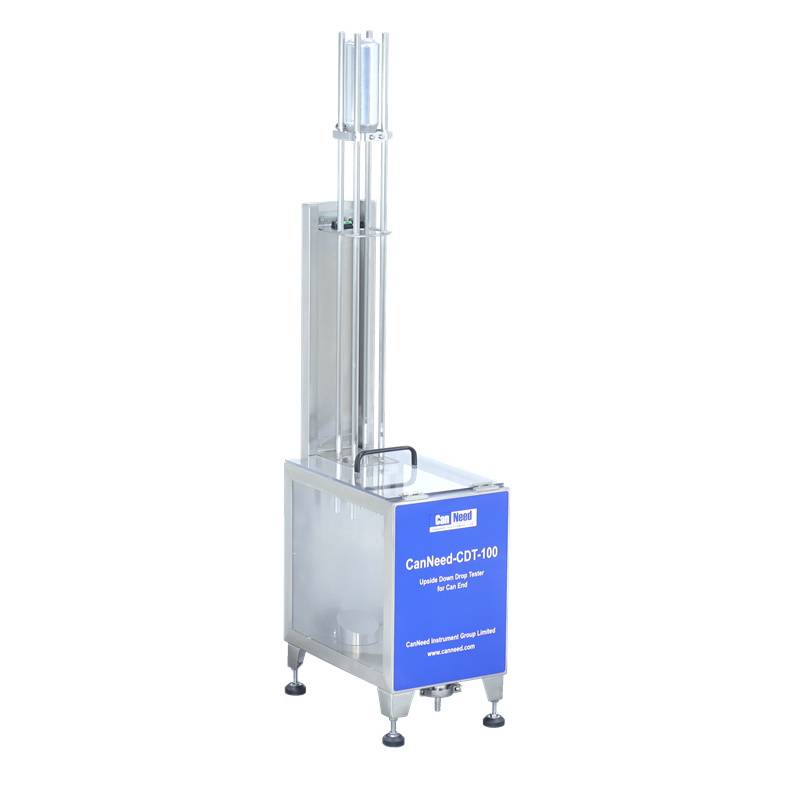
1. Insert the pressurized can upside down into the drop guide assembly at the top. Position the can so that it sits in the guide rails, held by the release handle clamp, with 1,067 mm (42 inches) between the top of the can lid and the top of the drop angle fixture. The last 203 mm (8 inches) of this distance is a "free fall" (i.e., below the bottom of the guide rails). The orientation of the pull tab on the can end should be randomized.
2. Pull the sliding release handle to allow the can to fall freely, vertically, and straight down through the drop guide chute, causing the can lid to impact the drop angle base.
3. Lift the splash guard and remove the can from the apparatus.
4. Visually inspect the can end and observe any damage to the lid. Analyze the results accordingly.
1. Fully enclosed bottom structure – Prevents lateral leakage from panel joints.
2. Quick-change clamping fixtures – Enables easy switching between can types.
3. High-transparency front and rear windows – Allows real-time observation of the impact moment.
4. Quick-attach/detach drainage port – Simplifies cleaning.
5. Rapid-release handle – Ensures smooth operation.
6. Vertical smooth guide rails – Minimizes kinetic energy loss.
 简体中文 (Simplified Chinese)
 English (American English)
 Русский (Russian)
 Español (Spanish)
 Italiano (Italian)
 Français (French)
 Deutsch (German)
 Português (Brazilian Portuguese)
 粤公网安备44120302000118号